Thursday 25 September 2014

Late summer village show success!

A few weekends ago I went back to my roots and entered a neighbouring village's village show. This consists of the usual raffle, tombola, dodgy second hand clothes and bric-a-brac and, what I consider to be the main event, the show.

There are various classes and this year I decided to 'go big' on the preserves. I entered apricot jam, red onion marmalade (recipe on this blog), rhubarb and vanilla vodka and whisky marmalade. 


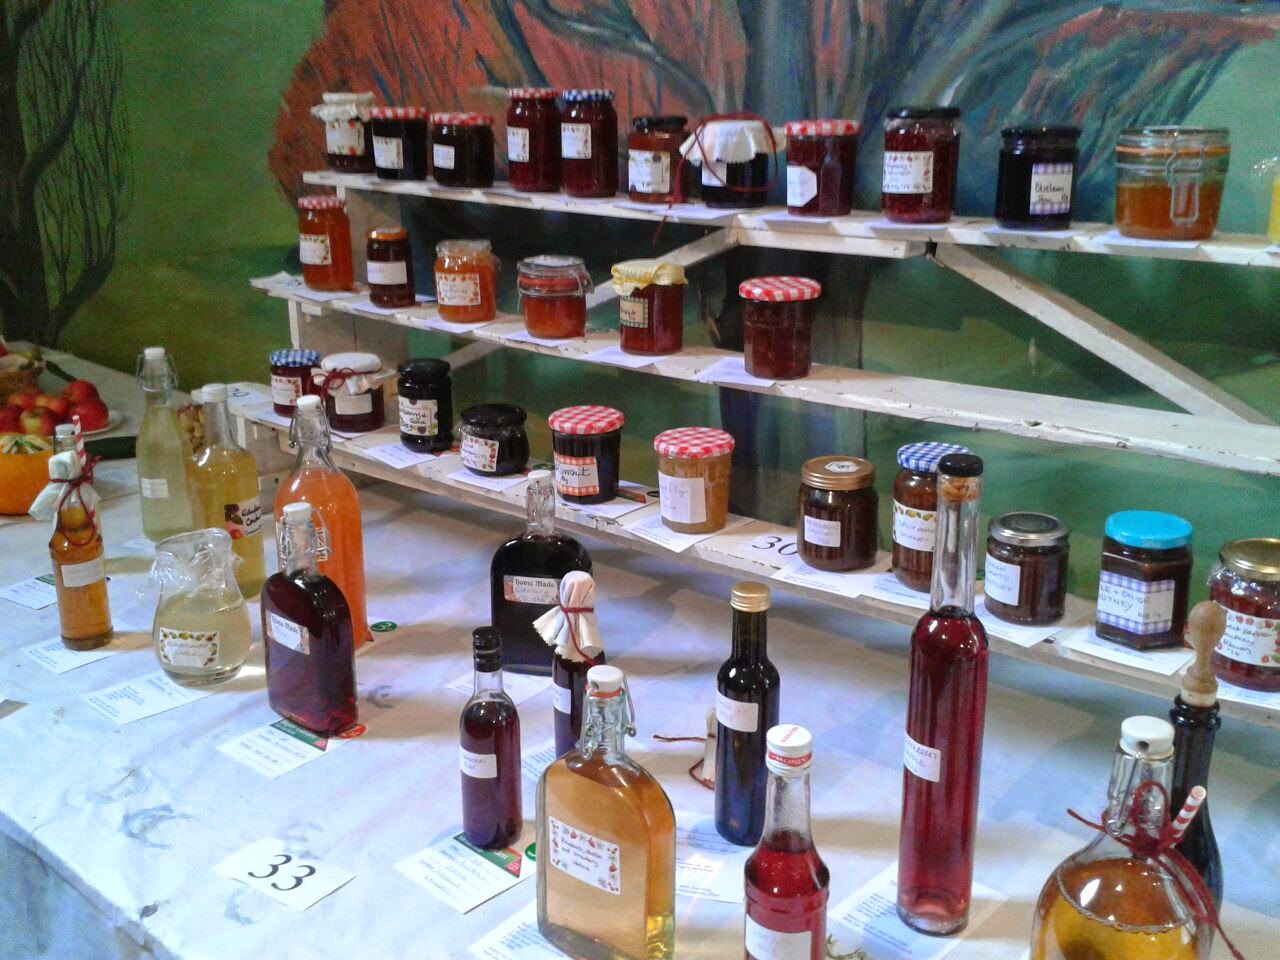
There were around a dozen competitors and 7 different classes, and I'm thrilled to announce that I won the preserves cup! This unfortunately involved beating my mother which she was none too pleased about, but hopefully thought it was testament to her coaching. 

Due to a historic rule that the cup cannot leave the participating villages, I have unfortunately had to leave the glamorous trophy at my parent's house, however I couldn't resist boasting with a few pictures on here....


Apricot Jam

I used French Apricots for this recipe and used the usual half fruit to half sugar (by weight) method as described for other jams on this blog. 


Whisky orange marmalade

I made this quite a thick cut marmalade and added a shot of whisky (for a 5 jar yield) just before spooning the jam into jars. Makes a good Christmas present!

Red onion marmalade

See my previous post for this recipe. I have found it to be a firm favourite and very versatile. I love onions but they very rarely shine in their own right. This sweet and sticky condiment does just that. Try with sausages, cold meats, cheese or on pizza with goat's cheese!

Rhubarb, vanilla and strawberry vodka

Rhubarb and vanilla vodka

For this liqueur I took a 750ml glass bottle and chopped a medium stalk of rhubarb into half length ways and then into small chunks and put them in the bottle. I then added half a vanilla pod and a could of tablespoons of sugar. 
After infusing for a month or so I tasted the result and found it a bit heavy on the vanilla. I therefore sieved the contents to remove the rhubarb and vanilla, and then reinfused the vodka with some more rhubarb and a couple of strawberries for good measure. 
The result was rather delicious served straight, ice cold!


The next day I went foraging around the village for some late summer spoils and was well rewarded for the trouble. The resulting bounty of blackberries and apples, sloes, plums and raspberries were used in a crumble, to make gin, as a snack and to decorate fairy cakes (respectively). A very successful weekend!

For those of you who may feel moved to enter a village show. My top tips would be:


  1. Don't stress about it, enter some preserves you have entered during the year that have gone well
  2. Pay attention to presentation. Fill jars 1cm from the top, make sure the jars aren't sticky and use nice jars and labels
  3. Enter lots of classes for the best chance of WINNING (but of course it's taking part that counts ;) )


Monday 8 September 2014

Healthy energy boost banana bars

I have a terrible mid morning and mid afternoon snack habit but these bars ARE THE ANSWER. They keep you full and give you a boost of energy to get you through the rest of the day...


Ingredients

2 large ripe bananas
2 cups oats
Tbs of peanut butter
Tbs honey
Handful pistachios
Handful dried fruit (dates, figs, prunes, raisins)


 Method

  1. Squish the bananas with a fork
  2. Stir in the rest of the ingredients
  3. Spread on a baking tray lined with waxed paper so the the bars are an inch thick
  4. Bake at 180 degrees for around 15 minutes until the bars have baked but are not dry and have some give in them


Have one of these with a cup of tea and you won't be reaching for lunch before 12 anymore :)

Variations

You don't have to put peanut butter in these and you can put whatever nuts, seeds and dried fruit you like in. For those super healthy among you, you can add coconut oil and flax seeds too...

Tuesday 5 August 2014

Wedding gift - my first commission!

One of my friends recently went to a festival themed wedding, and asked me to help her create a homemade gift as the bride and groom did not want traditional presents.

We decided we couldn't go wrong with something boozey so I made raspberry gin (for the flavour, versatility and gorgeous deep pink colour). I think it went pretty well!


All you need to do is find a pretty (clean) bottle and put around 150g raspberries and 1 tbsp sugar in the bottom. Fill it up to near the top with gin and leave to infuse for a month or so. Invert the bottle to mix it every few days (later on in the infusion time this doesn't matter so much) and add a bit more sugar if you want it sweeter. If you are intending to mix it will prosecco, tonic or lemonade I would recommend leaving it tart...

I tied a gift tag with cocktail recipe suggestions around the stem of the bottle and tied it with a ribbon and added a homemade card (see previous post!) to complete the gift. 


Monday 17 March 2014

Sewing projects for beginners

I am qualified to write this blog post as I am very much a beginner sewer!
I have done some hand sewing in the past (mostly mending, sewing on buttons etc) but this weekend I got to grips with a mini sewing machine and really enjoyed it. I bought some pretty patterned fabric from Birmingham's RAG market (£2 a meter!) and had a go at some bunting and homemade cards. I was amazed by how quick it is to make projects compared to knitting, but then, they were very simple projects.


Homemade fabric cards
Kitchen bunting


Simple bunting

The first project I tried was simple bunting. You can incorporate a lot more sewing into bunting but as it was my first go I thought I would keep it simple. I won't include instructions for setting up a sewing machine here as it should be included in the manual. I would recommend doing a few practice runs on some scrap fabric or thick paper first though!

You need:

Pinking shears (scissors that cut the fabric in a zigzag so it doesn't fray)
1/4 meter fabric in 2 or more patterns / colours
2 meters bias binding in a pretty colour
Sewing machine threaded up with colour of your choice (contrasting with fabric could be nice or if you want to hide uneven stitches choose the same colour for now!)

My friend gave me her mini sewing machine after upgrading to a proper one. Using the mini was no problem for these projects and she said it cost about £30 so definitely worth it so far!

Instructions

  1. Cut out fabric triangles, about 4 inches long. Make sure they look the same. Cut out enough to fill your 2m bais binding with a good length left over at each end for tying (I did 8). 
  2. Fold your bias binding with an edge of the triangle trapped between and as far in as it will go, so the finished bunting will have triangles hanging straight all to the same length
  3. Use your sewing machine (I used straight stitch as my mini one only does that!) to sew all along the length of the bias binding, trapping the fabric triangles in as you go. Voila!
Finished bunting


Handmade cards

For these cards I cut out little bits of fabric and used the sewing machine to stitch them onto plain cards, much like in my other homemade cards posts. I think these are my favourite though and by far the quickest to make. I'll be looking through Pinterest for some more inspiration for my next batch!

Little heart with balloon string
Bird - two different types of fabric


My bunting in miniture!
Letter card for my friend Isobel


Wednesday 19 February 2014

Homemade cards

My friend and I felt the need for a relaxing evening in with tea yesterday so I cooked and she brought round some blank cards and coloured cardboard and we had a great time seeing what we could do.


What you will need

Glue
Scissors
Letter stamps and ink
Coloured card
Blank cards and envelopes

What you might need

Knitting stuff
Wool
Ribbons
Buttons
Marker pen

You can buy all this stuff online cheaply but in terms of what you stick on the cards, I would encourage you to keep a 'bits and bobs' box with crafts things for occasions like this. 

Making the cards


We got quite a lot of inspiration from 'Pinterest' but also just had a go at things to see how they turned out with mixed results.... Generally we found that simple was effective!

Simple red card cut out and letter stamps....


Triangular coloured card bunting, wool and letter stamps
Thick ribbon, card heart shape and letter stamps


Knitted strawberries, ribbon and letter stamps


Coloured card shapes and letter stamps

 As you can see, we made a lot of use of simple card shapes. I really like sewing cute knitted shapes on too, previously I have done a little knitted mug ('You're my cup of tea!') and my friend received a card with a little knitted house on the front when we moved in together. I'm definitely going to try ore of those in future.

Friends, expect a homemade card soon!


Monday 17 February 2014

Hand knitted socks

When I told a friend that I started hand knitting socks, they said 'how pointless when you can buy 5 pairs for a pound'. I think that they were missing the point. There is little more luxurious than slipping on a pair of soft, lovingly hand knitted socks. The ones I have made have mostly been quite chunky bed / slipper socks. This makes them a bit more different from bought socks, and also means they are quicker and less fiddly to knit!

I have gifted two pairs to friends so far, perhaps they were just being kind but they seemed chuffed...

Chunky hand knitted bed socks

For your first pair, I would recommend using a 'super chunky' double knit yarn. I used a soft blend of acrylic and wool, so that they would feel luxurious but be machine washable. You'll need about 150g, depending on the size. I have UK women's size 7 feet but the pattern is easily adjusted.

You'll need:


  • 150g double knit yarn
  • Four double pointed needles: the biggest  could get were 6mm, this worked fine
  • Yarn needle

Instructions

This project needs a few more techniques than was covered in previous blog posts, with knitting in the round and heel and toe shaping. I was quite worried about this but managed to complete  my first pair (above) without any help from my aunt or grandmother so it wasn't that hard!
Step 1
Step 3 - first stitch in the round
  1. Cast on 20 stitches across 3 of the 4 double pointed needles (dpn). This is probably the most difficult part and take care than stitches don't slip off one needle which you're working on the next. Split stitched roughly evenly between the needles 1, 2 and 3. 
  2. Make sure the 'bobbley' bit of the stitches are face up, and that the yarn isn't twisted between the needles. 
  3. Continue to knit in the round. This means use the fourth needle to continue your knitting by transferring stitches from needle one onto it, through knitting. When you finish the row this will liberate needle one, which you can then use to continue knitting the next row on needle two and so on. The first row is quite tricky, but this is by far the hardest part. You don't need to alternate between purl and knit when you are knitting in the round, which means that once you get going it is quite relaxing! 
  4. Step 3 - after first two rows in the round
  5. When you have knitted about 4 inches of circular knit, increase by two stitches. Do this by starting to knit the stitch as you would usually, but once you have wrapped the yarn and put the needle to the front, before you slip the stitch off the needle, reinsert the needle into the back of the stitch and wrap the yarn again. This will create two stitches out of one and is called 'knitting into the front and back of the stitch'. Do this twice, 10 stitches apart. 


    Step 4 - knitting into back of stitch (1) 

    Final stage of step 4
    Step 4 - knitting into back of stitch (2)
  6. Now it's time to turn the heel. You now have 22 stitches, transfer 11 so they are on one needle. Knit across 10 stitches, one before the end of the row. 
    Step 5

    Step 6 (a)

    Step 6 (b)

    Step 6 (c)
  7. Bring yarn forward between needles, slip last stitch to right needle (a), bring yarn to rear of work (b), slip titch back to left needle (c). There is now a wrap around the base of the stitch. 
  8. Turn the work and purl in the other direction until there is one stitch remaining. Take yarn backwards between needles, slip last stitch to right needle, bring yarn to front, slip stitch back to left needle. Turn work. 
  9. Knit until one stitch before the 'wrapped' stitch. Repeat step 6. Continue until you have three wrapped stitches on each end. 
    Step 9 (a)


    Step 9 (b)

    Step 9 (c)
  10. Now you need to re-knit your wrapped stitches. Knit to the first wrapped stitch (a) and slip that stitch onto the right needle, using the left needle, pick up the wrap (b) and place the slipped stitch back to the left needle. Knit the stitch and the wrapped stitch together, through the back loop (c). Bring yarn forward, slip last stitch to right needle, bring yarn back to rear of work, slip stitch back to left needle. Turn work. Repeat on the purl side.
  11. Repeat step 9, transferring two wraps when there are two wrapped stitches until all wraps have been knitted together. 
    The heel is finished
  12. Continue knitting the sock in the round until the sock measures 4cm less than the length of the foot.
  13. Knit the toe in the same way as the heel, making sure that your 11 stitches are on the upper side of the sock so the seam is less visible when you finish. 
  14. When the toe is finished, slip stitches from the other two needles onto one so there are 11 on each. Knit together with kitchener stitch.
You may have some little holes around joins but just sew them up with your yarn. Now, repeat the whole pattern for the other sock!


Variations

You can use this basic pattern to make different socks. For the cream pair I used very chunky wool so only cast on 18 stitches. The rest of the pattern was the same. 
For the grey pair, I used 3mm dp needles as the yarn was finer. I cast on 32 stitches and increased by 6 instead of two for the foot. I also did some ribbing at the top. This is achieved by alternating two purl stitches with two knit stitches and looks nice as well as creating stretch around the ankle. 


 Good luck! Next I'm going to try cable knit socks and jumpers!

Helen x