 |
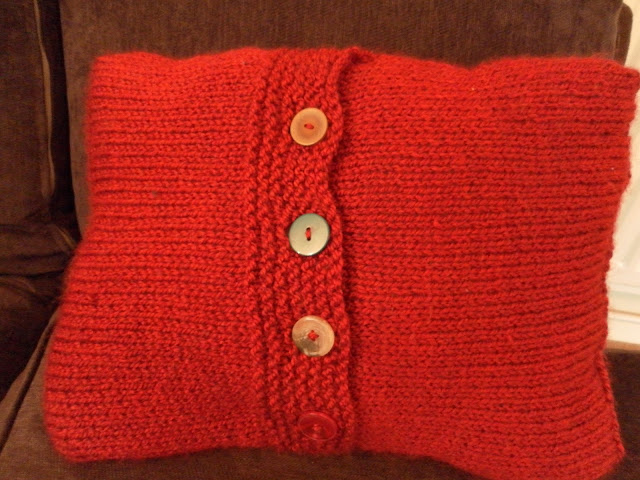
| The back of the finished cushion |
 |
| The front of the finished cushion |
This pattern can be adjusted to pretty much any kind of wool so I will avoid being too prescriptive here. The only thing is that you need to make sure you have enough wool to finish the project before you start.
Materials
 |
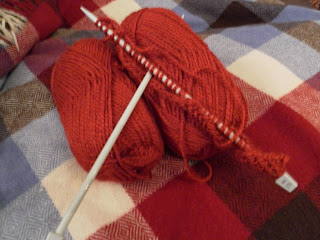
| Two skeins of 100g chunky claret wool |
Buttons - You will need four large buttons to fasten your cushion cover.
Tapestry needle and extra yarn - this is to finish the cushion as it is knitted in three parts.
Knitting Pattern
As I said, this is not really a traditional knitting pattern as it depends what size cushion you want to make. I will give you the pattern for my cushion however but you can adjust it accordingly. See my previous knitting post for more instructions on how to cast on etc.
For the front
- Cast on 40 stitches
- Knit in stockinette stitch (alternate rows knit and purl) until the work measures 2 inches
- Knit in garter stitch (basic knit stitch every row) for a further two inches
- Switch back to stockinette stitch for three inches
- Garter for two inches
- Stockinette for thee inches
- Garter for two inches
- Stockinette for two inches
- Cast off
For the back
- Cast on 40 stitches
- Knit in stockinette stitch for 7 inches
- Knit in garter stitch for 3 rows then knit an eyelet row:
- Knit 7 stitches then bring the wool forward to it comes out of the work towards you instead of out though the back if the work.
- Then knit 2 stitches together.
- Knit 7 stitches then bring wool forward again (step 1) and knit 2 together (step 2)
- Repeat steps 1 and 2 twice more then knit to the end of the row
- Knit in garter stitch for another 3 rows
- Cast off
- Cast on 40 stitches again and knit in stockinette stitch for 8 inches
- Cast off
Finishing
 |
| Using tapestry needle two sew panels together |
- Arrange the three panels so that the neat sides are facing inwards and the two back panels are overlapping
- Sew the three panels together so that they fit together like a cushion cover i.e. sew around the whole of the front panel binding it to the two back panels but do not sew the back panels together. There will be a small overlap of the back panels where you need to sew all three together
- Once the cushion is assembled sew on bright coloured buttons at the appropriate place on the 2nd back panel so that they can be used to fasten the cushion through the holes created by the eyelet row
- Stuff the cushion
Given that this project went well I'm going to give a cushion another go, perhaps using different colours. I'll let you know how it goes!

No comments:
Post a Comment