Sunday 24 February 2013

Knitted cushion

With the sudden encore of frosty winter weather I have been unable to break my January knitting habit and therefore tried to direct my efforts to a useful project. I have seen a few patterns for cushion covers so thought I'd adapt one to make a quick and easy addition to my sofa....

The back of the finished cushion

The front of the finished cushion

This pattern can be adjusted to pretty much any kind of wool so I will avoid being too prescriptive here. The only thing is that you need to make sure you have enough wool to finish the project before you start.


Materials


Yarn and needles - I used just over one 100g skein of chunky double knit 'claret' coloured wool and 6.5mm needles. This made a 12 inch by 15 inch cushion. I think this project would work well with a finer yarn but will take a bit more time, you could also make a larger or smaller version.
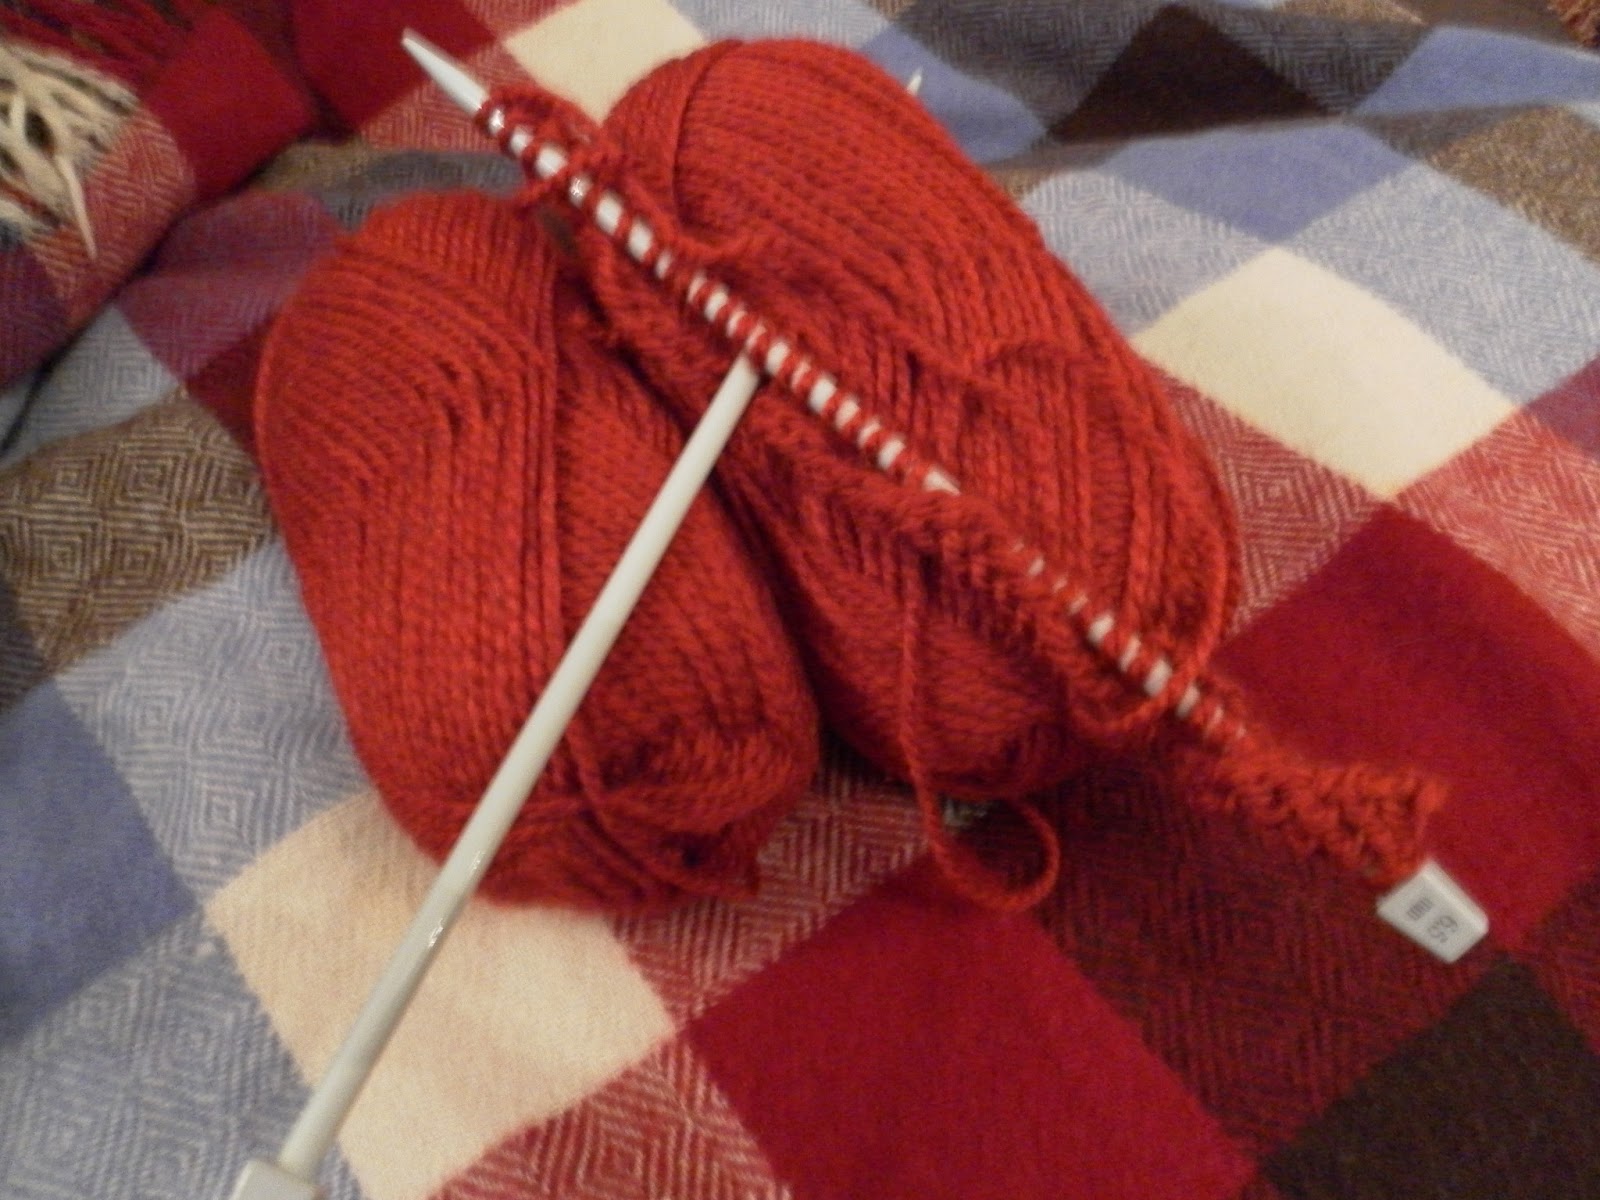
Two skeins of 100g chunky claret wool
Cushion pad - You will need a cushion pad or stuffing to fill the cushion. A pad will make it easier to remove the cover if it needs washing.
Buttons - You will need four large buttons to fasten your cushion cover.
Tapestry needle and extra yarn - this is to finish the cushion as it is knitted in three parts.


Knitting Pattern


As I said, this is not really a traditional knitting pattern as it depends what size cushion you want to make. I will give you the pattern for my cushion however but you can adjust it accordingly. See my previous knitting post for more instructions on how to cast on etc.

For the front

  • Cast on 40 stitches
  • Knit in stockinette stitch (alternate rows knit and purl) until the work measures 2 inches
  • Knit in garter stitch (basic knit stitch every row) for a further two inches
  • Switch back to stockinette stitch for three inches
  • Garter for two inches
  • Stockinette for thee inches
  • Garter for two inches
  • Stockinette for two inches
  • Cast off
For the back

  • Cast on 40 stitches
  • Knit in stockinette stitch for 7 inches
  • Knit in garter stitch for 3 rows then knit an eyelet row:
  1.  Knit 7 stitches then bring the wool forward to it comes out of the work towards you instead of out though the back if the work. 
  2. Then knit 2 stitches together. 
  3. Knit 7 stitches then bring wool forward again (step 1) and knit 2 together (step 2)
  4. Repeat steps 1 and 2 twice more then knit to the end of the row 


  • Knit in garter stitch for another 3 rows 
  • Cast off
  • Cast on 40 stitches again and knit in stockinette stitch for 8 inches
  • Cast off
Finishing
Using tapestry needle two sew panels together
  • Arrange the three panels so that the neat sides are facing inwards and the two back panels are overlapping
  • Sew the three panels together so that they fit together like a cushion cover i.e. sew around the whole of the front panel binding it to the two back panels but do not sew the back panels together. There will be a small overlap of the back panels where you need to sew all three together

  • Once the cushion is assembled sew on bright coloured buttons at the appropriate place on the 2nd back panel so that they can be used to fasten the cushion through the holes created by the eyelet row
  • Stuff the cushion


Given that this project went well I'm going to give a cushion another go, perhaps using different colours. I'll let you know how it goes!


Thursday 14 February 2013

Homemade cake stand (with homemade cakes!)

Introduction

I saw this idea for a homemade in a 'Vintage Gifts' book and decided to try it as I have always wanted one. In this project you can choose your own plates and glasses to made a totally unique cake stand that you can use at tea parties to display (preferably homemade!) biscuits and cakes. I've included a very reliable cupcake recipe at the end which has been my favorite recently as you can whip it up in no time with minimal ingredients and fuss. I'm no star baker but these work every time!

Vintage cake stand

Sourcing your materials

Three pretty plates
Two glasses
Glue suitable for sticking glass and ceramic together


All the materials required for cake stand


The first place to look for materials for this project is in your own cupboards. Any mismatched or slightly chipped but pretty crockery that you no longer use can be used to make a new piece of homeware.

You will need three places for a thee tiered stand and two sherry or shot glasses. You can arrange the items together as you would when they are stuck together to see how they look together. I would suggest that a large plate, a side plate and a saucer sized plate.You also need to make sure that the glass is the right size and shape so that the whole rim is in contact with the plate.

If you don't have anything suitable at home, check out any local vintage fairs, markets or charity shops for unusual and good value pieces. I found sherry glasses in almost every charity shop I looked in! Ebay is also a great source as there are plenty of lovely bits for one or two pounds. I would not necessarily purchasing online however as you will not get to try out how the pieces look together and postage can be expensive.
Find a suitable glue at a hardware shop or online.

Cost

All in all, this project could cost a few pounds depending on how expensive the crockery you use is. This project cost me £3.50 all together!

Making the stand

1. Make sure all your materials are clean and dry or the glue will not stick well.
2. Cover your work area with newspaper
3. Spread glue sparingly on the base of the shot/sherry glass and place it in the center of the largest plate. The glue I used set quickly so be sure to read the instructions before you start.

4. Spread glue on the rim of the glass and place the center of the next largest plate onto it.


5. Repeat with the next level of the stand.


And your stand is now finished! Resist fiddling with it until the glue is completely set, then you are ready to load it up with cakes and boil the kettle for some tea!


Orange and poppy seed cupcakes

Ingredients

2 tbsp poppy seeds
2 tbsp hot milk
85g softened butter
85g granulated or caster sugar
Rind of half an orange
1 large egg
100g self raising flour

1. Preheat the oven to 180 degrees centigrade

2. Heat the milk on the hob or microwave and add the poppy seeds

3. Work the butter and sugar together until uniform and smooth

4. Beat in the milk, seeds and egg then add the orange rind

5. Sift in the flour using a sieve

6. Mix gently using a metal spoon retaining as much air in the mixture as possible

7. Spoon the mixture uniformly into cake cases

8. Bake for 20 minutes or until tops are golden and springy

Makes 12 small cupcakes.

Double the recipe to make 12 muffin sized cakes.


How cakes should look fresh out of the oven


The finished cakes and stand