Showing posts with label vintage. Show all posts

Friday, 22 January 2016

Amateur upholstery

I recently moved into an unfurnished flat in Hackney, London and as a consequence ended up begging, borrowing and scavenging for bits of furniture.
My grandparents generously donated a couple of kitchen chairs which I love, but were a bit worse for wear with sagging seats and faded upholstery.

I had wanted to recover them for a while when I discovered a draper's shop nearby and some lovely patterned fabric. I bought half a metre and borrowed a staple gun from a friend and was good to go!

Finished seat

What you need

Upholstery fabric (it needs to be robust fabric to take the staples)
Extra stuffing (if like me your seats are sagging)
Staple gun and staples
You could use vintage or second hand fabric as you only need a relatively small amount.

Instructions

Remove the seat from the chair and check the state of the current padding. You may not need to restuff it at all. If you do, use some extra stuffing from an old cushion to pad it up. The chairs may have straps to keep the stuffing in so make sure they are stapled in place firmly. If the whole lot is worse for wear then I would recommend buying some new ones.
Underside of seat with extra stuffing
  • Once your seat is stuffed, measure out your fabric, making sure that you have enough to fold over the sides of the seat. Cut the fabric to the approximate size. It's better to have a slight surplus than not enough. 
  • Place your fabric best side down and position the seat face down on top, making sure there is an even excess of fabric for each side. If you have pattered fabric make sure the pattern is aligned / facing the right way. 
  • Use a staple gun to fix one side down. If you use sturdy staples you will need 3 or 4 per side.
  • Move to the corner and carefully cut a slit in your fabric in line with side you have just fixed until about 1 inch from the corner to help give a neat fold.
  • Fold the second side down making sure that the fabric is tight over the seat and that the corner is neatly folded.
  • Staple as before and then continue to the next two sides, taking care with the corners as before. Make sure that the fabric is pulled  tight and that there are no wrinkles.
And that's it! It doesn't give the tidiest finish on the underside of the seat but if you are worried about that just measure the fabric very accurately and fold the edge over before you staple.

I would definitely do this again to update my chairs and it was very satisfying.

Finished chair

Thursday, 14 February 2013

Homemade cake stand (with homemade cakes!)

Introduction

I saw this idea for a homemade in a 'Vintage Gifts' book and decided to try it as I have always wanted one. In this project you can choose your own plates and glasses to made a totally unique cake stand that you can use at tea parties to display (preferably homemade!) biscuits and cakes. I've included a very reliable cupcake recipe at the end which has been my favorite recently as you can whip it up in no time with minimal ingredients and fuss. I'm no star baker but these work every time!

Vintage cake stand

Sourcing your materials

Three pretty plates
Two glasses
Glue suitable for sticking glass and ceramic together


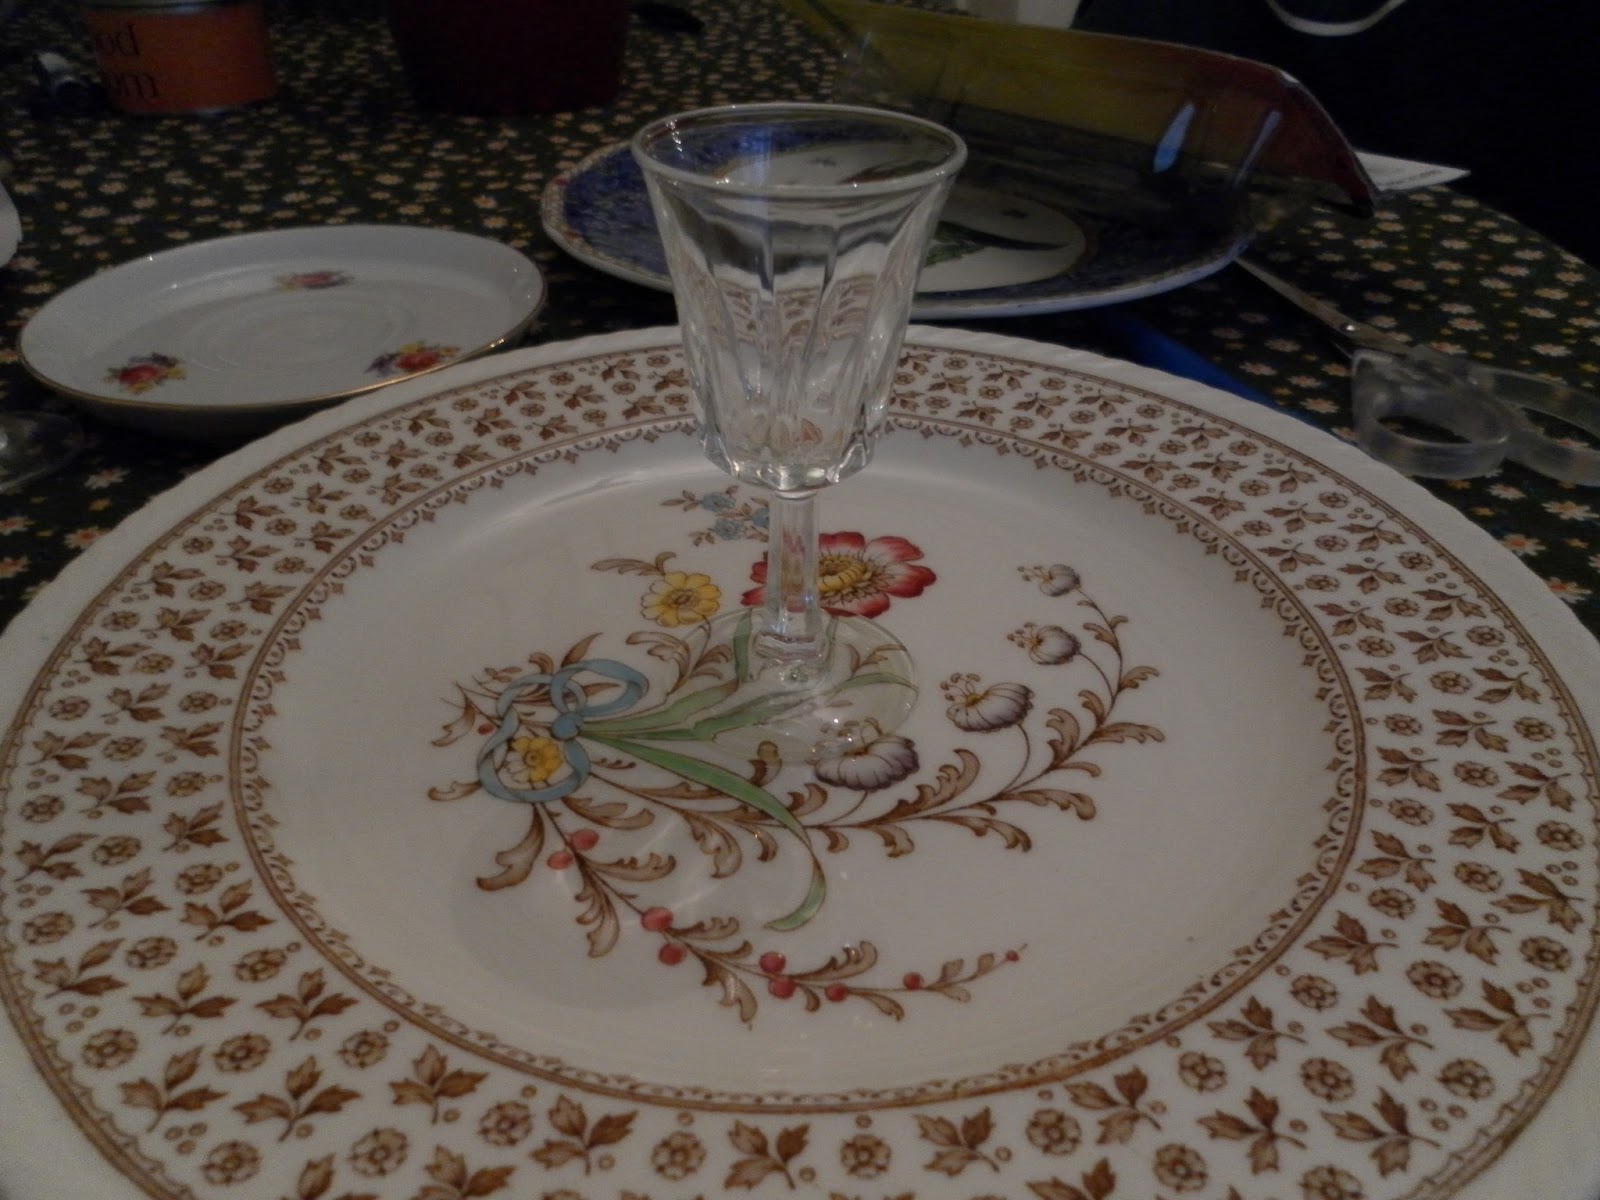
All the materials required for cake stand


The first place to look for materials for this project is in your own cupboards. Any mismatched or slightly chipped but pretty crockery that you no longer use can be used to make a new piece of homeware.

You will need three places for a thee tiered stand and two sherry or shot glasses. You can arrange the items together as you would when they are stuck together to see how they look together. I would suggest that a large plate, a side plate and a saucer sized plate.You also need to make sure that the glass is the right size and shape so that the whole rim is in contact with the plate.

If you don't have anything suitable at home, check out any local vintage fairs, markets or charity shops for unusual and good value pieces. I found sherry glasses in almost every charity shop I looked in! Ebay is also a great source as there are plenty of lovely bits for one or two pounds. I would not necessarily purchasing online however as you will not get to try out how the pieces look together and postage can be expensive.
Find a suitable glue at a hardware shop or online.

Cost

All in all, this project could cost a few pounds depending on how expensive the crockery you use is. This project cost me £3.50 all together!

Making the stand

1. Make sure all your materials are clean and dry or the glue will not stick well.
2. Cover your work area with newspaper
3. Spread glue sparingly on the base of the shot/sherry glass and place it in the center of the largest plate. The glue I used set quickly so be sure to read the instructions before you start.

4. Spread glue on the rim of the glass and place the center of the next largest plate onto it.


5. Repeat with the next level of the stand.


And your stand is now finished! Resist fiddling with it until the glue is completely set, then you are ready to load it up with cakes and boil the kettle for some tea!


Orange and poppy seed cupcakes

Ingredients

2 tbsp poppy seeds
2 tbsp hot milk
85g softened butter
85g granulated or caster sugar
Rind of half an orange
1 large egg
100g self raising flour

1. Preheat the oven to 180 degrees centigrade

2. Heat the milk on the hob or microwave and add the poppy seeds

3. Work the butter and sugar together until uniform and smooth

4. Beat in the milk, seeds and egg then add the orange rind

5. Sift in the flour using a sieve

6. Mix gently using a metal spoon retaining as much air in the mixture as possible

7. Spoon the mixture uniformly into cake cases

8. Bake for 20 minutes or until tops are golden and springy

Makes 12 small cupcakes.

Double the recipe to make 12 muffin sized cakes.


How cakes should look fresh out of the oven


The finished cakes and stand